For homeowners with outdoor decks, replacing deck boards is a common maintenance task they need to perform. This is because wooden deck planks can begin to rot, crack or loosen over time, and homeowners need to repair and replace them to keep their outdoor decks in good condition. Replacing deck boards is a relatively simple DIY project that can be done in a short amount of time with the right tools and materials.
To fix a loose deck, you may only need to tighten a few screws. However, if they have rotted or broken, they will need to be replaced. Most of the time, you don’t need to rebuild the structure of your deck. That’s because outdoor deck posts and joists aren’t directly exposed to the weather, and they usually last longer than deck boards. You will save a lot of time and money if you only repair the broken deck boards instead of the entire deck. In this article, we’ll provide a step-by-step guide on how to replace deck boards, including tips on how to choose the right materials, tools, and techniques to ensure success.
What is the cost of replacing deck boards?
The cost of replacing deck boards depends on the number of boards you need to replace and the price of the boards. A 6-inch wide, 16-foot long, pressure-treated 5/4 (1-5/32-inch) deck board will cost about $23. A similar cedar deck costs about $58, while similar composite decking boards cost about $42. Specific prices also depend on the region, so ask your local architectural trim store for detailed prices.
Tools you will need
- Circular Saw / Jigsaw / Oscillating Multitool / Reciprocating Saw
- Screw Gun / Power Drill
- Speed Square
- Wood Chisel
- Claw Hammer
- Pry Bar / Cat’s Paw
- Eye Protection
- Paint Brush
- Tape Measure
- Pencil
Materials to be prepared
- Deck boards to be replaced
- Coated or Stainless Steel Deck Screws
- Wood Sealant / Stain (only for use on wood decking)
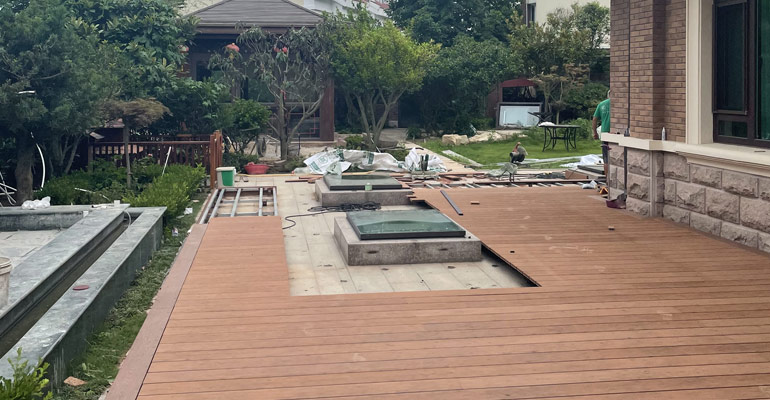
The deck to be replaced should be the same as the previous one. If you don’t know what kind of wood is being used, cut it up and see. Redwood, cedar, and chemically treated woods all have their own odor. For composite decking boards, you’ll need to find the manufacturer or brand name and then match the color and style on the company’s website or in the store.
How to remove and replace decking
First, remove the bad deck
Find the boards on the deck that need to be replaced. If you don’t want to take the whole board down, decide where to cut it. Place the hole at least one joist space away from the end of the board next to it, and make sure the rest of the old board and the new board will cover at least two joist spaces. Mark the cut line with a pencil and a quick square. Use a circular saw to cut out the broken decking so that it is flush with the joists or along the centerline of the joists. Use a chainsaw with a straight blade or a multi-tool with an oscillating blade to make the cut without cutting into the boards next to it. If you are cutting along the axis of the joist, move the cutting line if there are nails or screws in the way.
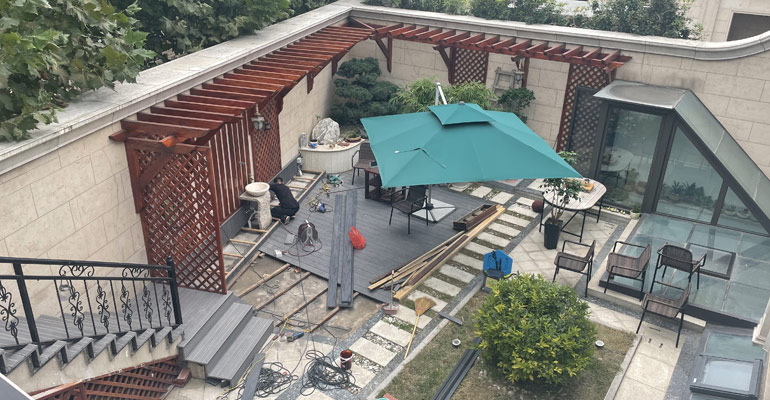
Use a pry bar to place a block under the board you are removing so you don’t damage the board next to it. If the screw head is stripped and you can’t get it out, you can use a rotary multi-tool or reciprocating saw to make it level with the joists. Use a cat’s claw to cut or pull out nails that are stuck hard inside.
Inspecting joists, posts, and columns
Once the damaged deck has been removed, you can see the joists and cross members. Check them for rot or other damage, and make sure they are securely attached to the posts and sill plates. Also look at the joists to see if they are rotted, especially if they are touching the floor. Check that the joists’ hooks are straight, not rusted and that you haven’t missed all the screws. If you find rot in a structural part, you need to decide whether to repair it or replace it. You also need to learn how to prevent and stop the rot from happening again.
Add reinforced joists and support posts
Add non-skid screws or sister joists, if you need them, to help hold the new deck boards in place and to strengthen broken joists. Use framing nails or structural screws to attach cleats or support posts to the existing joists, the deck boards you cut down, and other areas where joists need to be reinforced. Make sure the top of each cleat or clamp is the same height as the top of the already existing joists. If you seal the tops of the joists, they won’t rot.
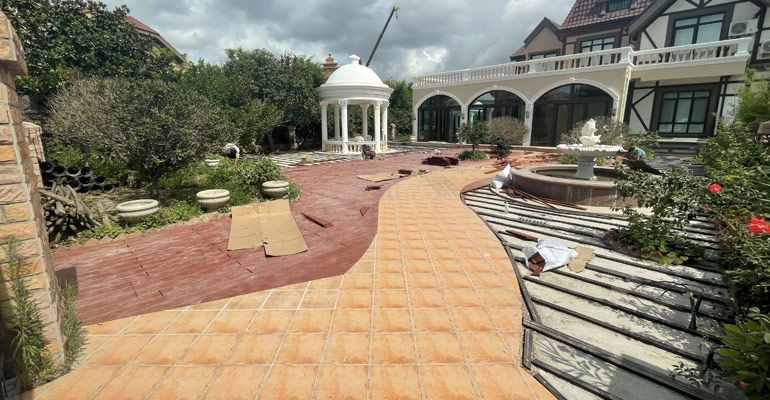
Cutting new decking
Find the spacing of the existing deck boards. If possible, span this distance with a board and leave a 1/8-inch gap at each end to allow the boards to expand with heat. Each plank should be cut through at least two frames in different ways. Avoid cutting boards in a way that leaves knots at each end.
Applying Paint (optional)
If you paint or stain your new planks, you can make them last many years longer. The new planks will also look more like the old ones. If you are using pressure-treated wood, which doesn’t take paint or color well, you may need to let the boards dry for a few weeks before painting them. The paint will also stick better if you sand the boards first. Make sure both ends of the board are covered. Mix a cup of baking soda with a gallon of water and apply it to the wood, then rinse it off. This will make the wood look just like any other plank. Let the boards dry before you paint them and put them where they belong.
Summary
It’s best to do a full and thorough inspection before repairing and replacing your outdoor deck. While it is less expensive to replace deck boards, it is more appropriate to rebuild the outdoor deck if there is too much damage or if the deck structure is damaged. For deck material selection, low-maintenance, robust, and durable composite decking materials are more suitable for creating your outdoor deck project.

